Patient Portal
Dendi’s Patient Portal allows you, as a patient, to register yourself in the system and to receive your test results directly in a digital format. Ultimately, this will save everybody time and effort = there’s no more waiting for a fax or for your doctor to call you, and you will be able to get your results faster.
Registering Yourself in the Dendi Patient Portal
You will have to first register yourself as a patient in the system. Most likely, your lab administrator has provided you the link for registration. If not, or if you have misplaced said link, it is available at https://<yourlabhere>.dendisoftware.com/patient_registration/, where <yourlabhere> is specific to your particular lab, ex., https://demo.dendisoftware.com/patient_registration/ for the “demo” lab.
The other option is that you may receive a link for registering for a specific clinic/location. In that case, the link will look something like https://demo.dendisoftware.com/patient_registration/aebb58c9-f21d-442f-af47-d82471f79f20/ and the specific clinic/location for “Durham Clinic” will be populated.
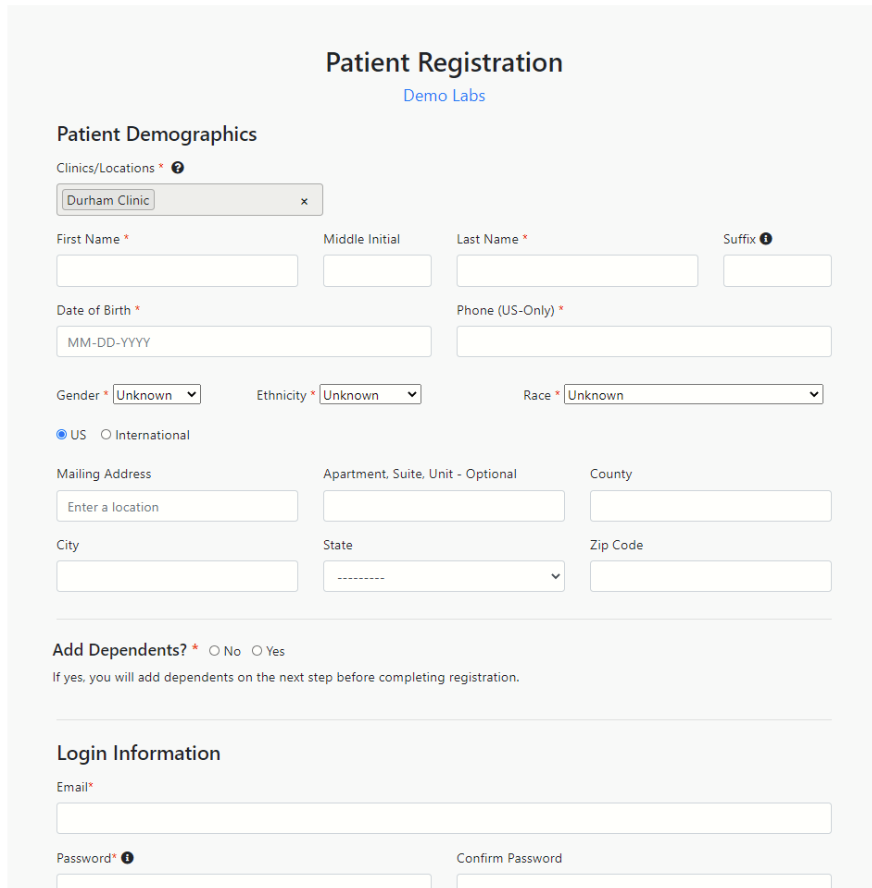
On the registration page, please fill out the information requested. Fields marked with a red asterisk (*) are mandatory, and other fields are optional.
Please note that the Email and Password you provide will be used for your login information. Email addresses have to be distinct - that is to say, you cannot register twice with the same email address.
If you want to add dependents associated with you (the primary user), check “Yes” for the Add Dependents? Field. After registering yourself, on the subsequent screen you will be able to add dependents.
The registration pages are available in both English and Spanish. Please note that any emails received from the lab as well as the post-login Patient Portal are only available in English.
Confirming Your Email Address
Once you have submitted your information for registration, you will receive a message at the email address you provided asking you to confirm your account. Be sure to check your spam & junk folders if you do not receive the email.
The email message will contain a link that you can either click or paste into a browser window to confirm your email. Once confirmed, you are able to log into the Dendi Patient Portal.
Logging into Dendi Patient Portal
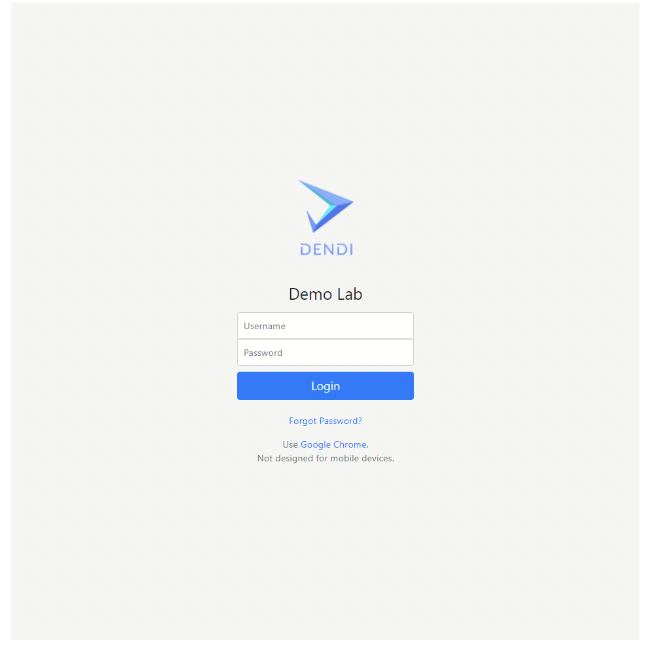
The URL for login is available at https://<yourlabhere>.dendisoftware.com/, where <yourlabhere> is specific to your particular lab, ex., https://demo.dendisoftware.com/ for the “demo” lab. From here, enter your email in the “Username” field and your password in the “Password” field to access the Patient Portal.
Resending Confirmation Email
Until you confirm your email, you will be unable to log into the Dendi Patient Portal. Confirmation emails sent will expire after a certain period of time, so if you need to resend a confirmation email you can do so from https://<yourlabhere>.dendisoftware.com/patient_registration/resend_confirm_email, where <yourlabhere> is specific to your particular lab, ex., https://demo.dendisoftware.com/patient_registration/resend_confirm_email/ for the “demo” lab.
Resetting Password
If you forget your password, you are able to reset it yourself. From the login page, click the “Forgot Password?” link, then enter in your email address. You will be sent an email with a new password. Once you use this password to log in, you can set a new password by going to your user settings.
If you try the previous steps and are still having trouble logging in, please contact your lab to assist you with the reset.
Changing Email Address or Password
Log into Dendi Patient Portal, click on your name in the top right corner of any page, then click “Settings”. From there, you can change your email address and/or set a new password.
Enabling Email Notifications
Log into Dendi Patient Portal, click on your name in the top right corner of any page, then click “Settings”. From here, in the “Notification Preferences” section, you can choose to be notified when results are ready by email.
Editing Patient Details
To access, view, and edit your information, click on “Patient Information” from the navigation bar on the left-hand side, then click on “Patient Details”. This will take you to a page where you can see your information. You can edit this information by clicking on the yellow button in the top right.
Note: Your lab may allow you to enter in your own insurance information. If this is not the case and you wish to add or edit your insurance info, please contact your lab.
Managing Dependents
You can add dependents by clicking on the ‘+Dependent’ button from the “Patient Details” page. Dependents will inherit insurance information from the primary Patient (you), and can optionally also use your address. Even if inherited, insurance & address information can be directly edited for the dependent at any point in the future.
Note: Dependents can be created and details can be edited, but at this time there is no way to archive or unlink a dependent.
Viewing Test Results
After a lab has finished testing and has reported the results, you will receive a copy of the results directly through the Patient Portal. You are able to view all your results from the “My Results” page in PDF form.
If email notifications for results are enabled, you will receive an email when your results are available. You will also receive separate emails when results are available for dependents associated with you.
Comments
0 comments
Please sign in to leave a comment.